Team, modules and workspace settings
Who this is for: admins and managers.
What you will learn: how to add people safely, switch modules on and off, and configure the workspace without breaking invoices.
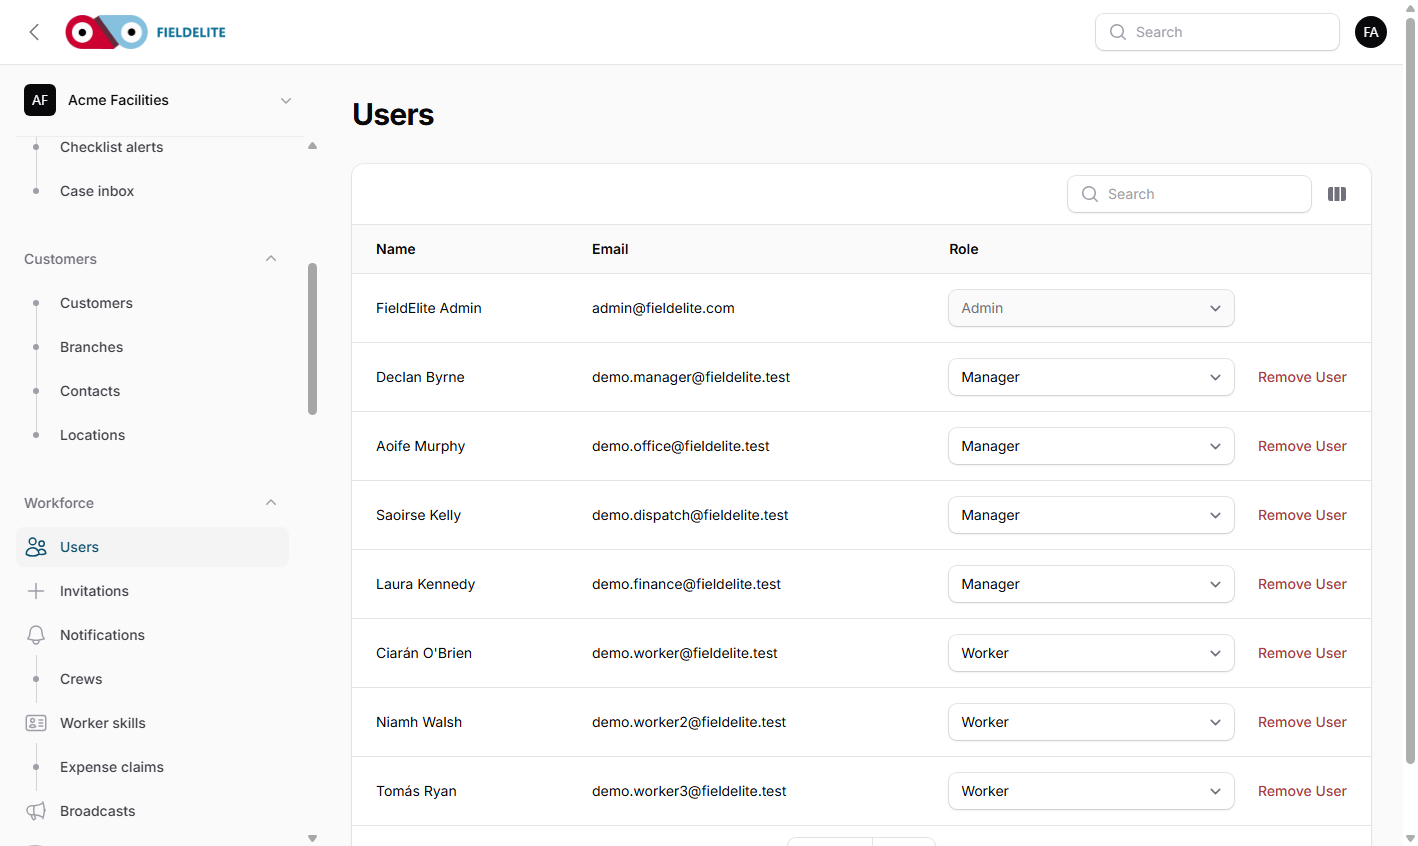
Add a team member
- Go to Workforce → Invitations.
- Enter the person's email and choose a role.
- Send the invitation.
- The invitee accepts and sets a password.
If invitations are disabled in your workspace, an admin must create the user in the central admin panel.
Roles and permissions
| Role | Best for | Notes |
|---|---|---|
| Admin | Owner or system administrator | Full access, including bank details, refunds, write-offs and team |
| Manager | Operations manager | Everything except the most sensitive finance and team actions |
| User | Office staff | Day-to-day work without administration |
| Worker | Field engineer | Only My jobs and the field execution screen |
Permission examples:
- create quotations
- issue invoices
- record payments
- authorise refunds
- write off debt
- manage team
- update workspace settings
- manage custom fields
- create, view, acknowledge, assign, investigate and close cases
- release work holds (and release safety holds)
- manage and verify corrective actions
- assess regulatory reporting
- export cases
- approve or reject expenses (
expenses.approve) - manage expense and audit settings
If someone cannot see a screen, check the role before changing code.
Tip: Give the smallest role that lets the person do their job. Add permissions only when a real task needs them.
Turn modules on and off
Open Workspace settings → Modules. Each module is a feature flag for this workspace:
| Group | Modules |
|---|---|
| Dispatch & field visibility | Live team map, crews, dispatch board, job offers, geofence arrival, SLA tracking |
| Operations | Fleet, expenses, weather, routing, forms, checklists, incident/hazard/assistance cases, IoT, inventory, scanning, preventive maintenance |
| Communication | Broadcasts, voice conference, notification preferences |
| Customer experience | Customer tracking link, customer portal |
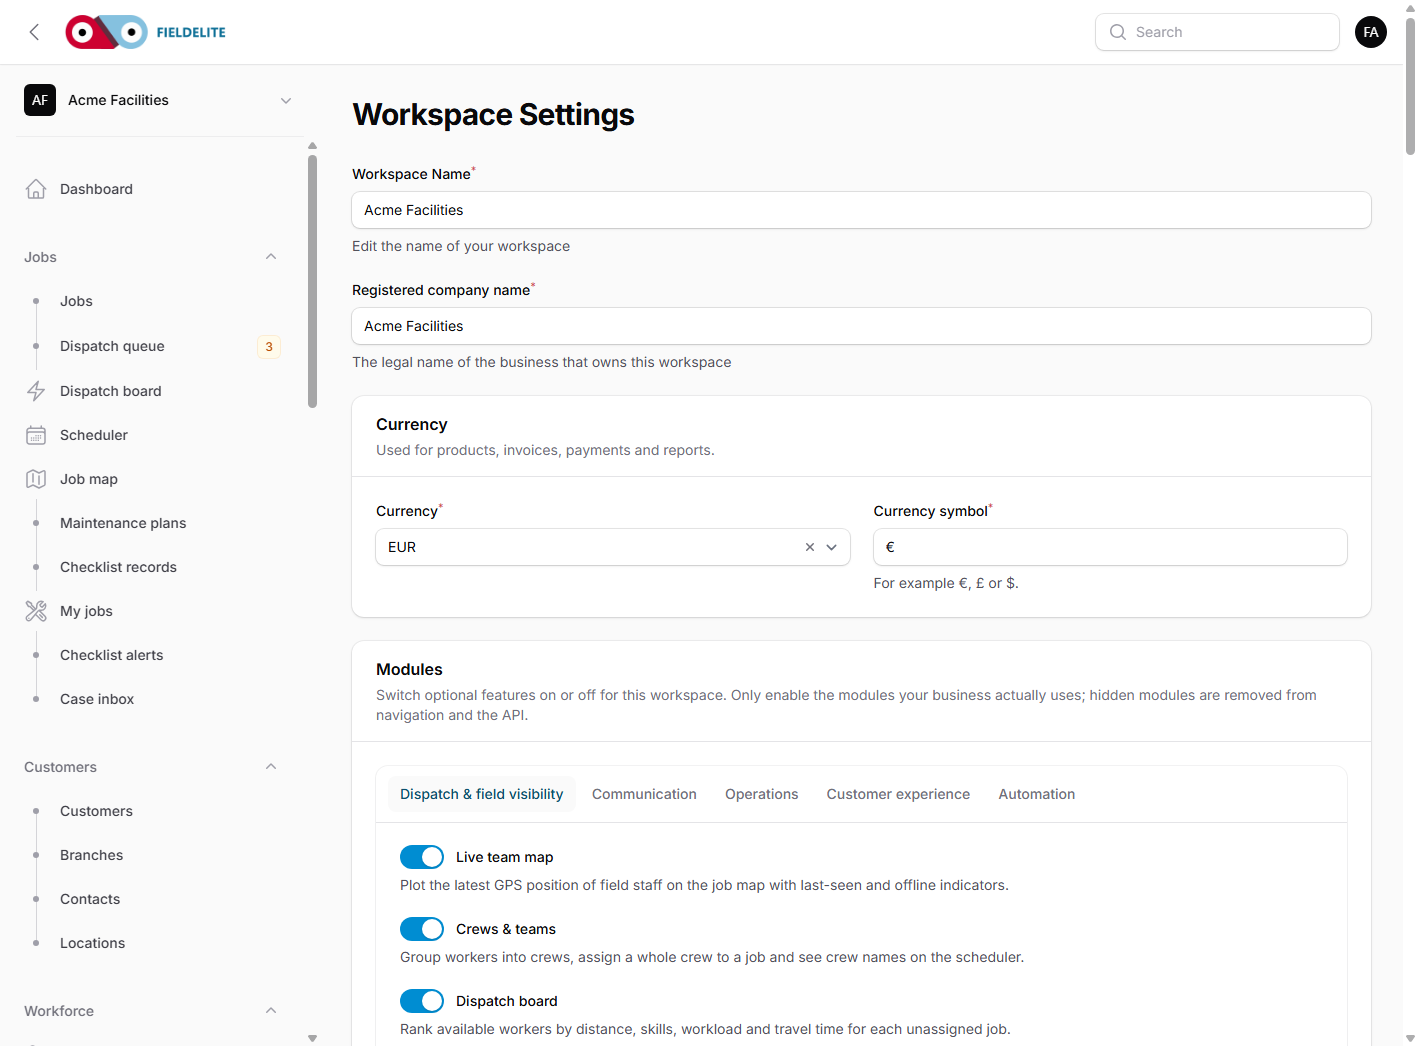
Turning a module off hides it from the UI. It does not delete data. Turn it back on and the data returns.
Workspace settings tabs
| Tab | What it controls |
|---|---|
| Company | Name, address, contact and VAT |
| Currency | Default currency |
| Modules | Feature switches |
| Invoice appearance | Logo, accent colour, footer and terms |
| Billing & legal issuer | Legal name, registration and tax details used on invoices |
| Bank & payment details | IBAN, BIC and payment instructions |
| Document numbering | Prefixes and sequence padding |
| Default document text | Quote and invoice terms |
| Accounting | Xero, Sage or QuickBooks provider and credentials |
| Customer card payments | Stripe keys, statement descriptor and webhook endpoint |
| Working hours | Hours used by scheduling |
| Holidays | Non-working days |
Warning: Changing the legal issuer or bank details affects future documents. Issued invoices keep the snapshot they were issued with.
Accounting and card payment settings
Accounting: choose Xero, Sage Business Cloud Accounting or QuickBooks Online, enter the provider company identifier and OAuth credentials, then test the connection. Pushing an issued invoice to accounting is manual; the local record stays authoritative.
Customer card payments: enable Stripe, enter the secret, publishable and webhook signing keys, and register the webhook endpoint shown on the page. The invoice settles only from a verified webhook. Keep the secret and webhook key out of screenshots and demo exports.
Expense and audit settings
Open Workspace settings or ask an approver to configure:
| Setting | What it does |
|---|---|
| Approval threshold | Amount above which a second approver is required |
| Two-person rule | Enforces the second, different approver |
| Daily OCR cap | Limits receipt pages processed per day |
| Receipt retention | Deletes or anonymises receipt images after the configured years |
| Digest enabled / time | Sends daily and monthly expense summaries to approvers |
| Activity log retention | Purges audit rows older than the configured days |
Retention changes are permanent once the nightly purge runs. Reducing the OCR cap pauses processing; it does not delete receipts.
Open Settings → Activity log to review changes. Use the event and record-type filters, then set the retention period at the top of the page. Settings → OCR usage shows receipt page counts, failures and estimated cost.
Custom fields
Admins can add fields to customers, branches, jobs and products. Use them for data that is specific to your business, not for core fields that already exist.
Notifications
Each user can choose which notifications they receive and by which channel:
- in-app
- push (mobile)
Managers should not switch off critical job notifications for field staff.
Security checklist
- Require two-factor authentication for admins and finance.
- Remove leavers immediately.
- Review roles quarterly.
- Do not share the admin account.
- Keep bank-detail changes restricted to one or two people.
Check your understanding
- Which role can change bank details?
- What happens to data when a module is switched off?
- Where do you change the invoice prefix?
Related: Getting started in the office · Troubleshooting
Related articles
Who this is for: everyone in the office workspace. What you will learn: where the help centre lives, how to search it, and how to get from a screen to the right article. Open the h...
Who this is for: office administrators, dispatchers, managers and finance users. What you will learn: how to sign in to the right workspace, find your way around, and set up your p...
Who this is for: office administrators, dispatchers and managers. What you will learn: how FieldElite models a customer, its sites and the people on site — and how to give a custom...
Who this is for: office administrators, dispatchers, managers and supervisors. What you will learn: how to raise a job, assign it, move it through the status workflow, and close it...