Working a job
Who this is for: field workers.
What you will learn: the on-site routine that produces a clean, billable, defensible job record.
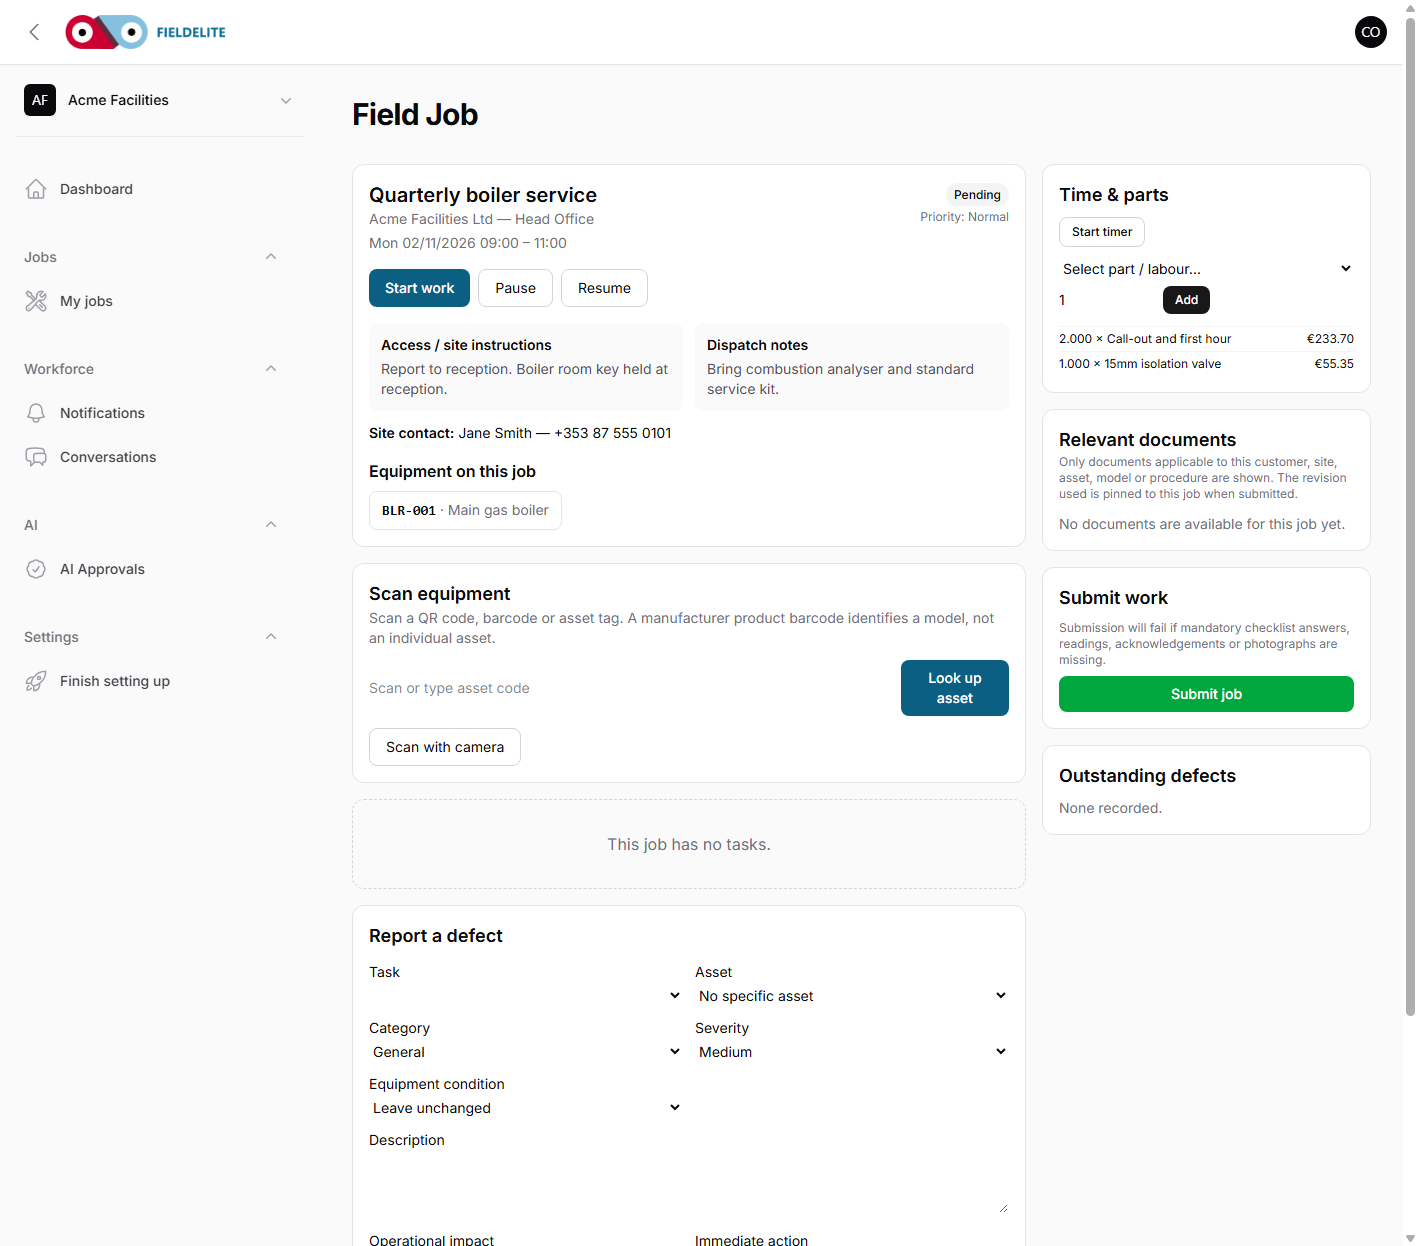
Arrive and start
- Park safely and follow the site's access procedure.
- Sign in at reception if required.
- Open the job in My jobs.
- Check the customer, site, asset and job description.
- Tap Start work.
Starting the job records the time and moves the job to In Progress.
Tip: If you are early, use the time to read the access notes, documents and previous job history.
Scan the asset
If the job has an asset:
- Find the QR or barcode label.
- Tap the scan field.
- Scan the code.
- Confirm the asset name and serial number match the job.
If the code does not match, stop. You may be at the wrong plant, or the label may be wrong. Record the discrepancy in a note and call the office.
Work through the checklist
The checklist is the procedure. It is not optional paperwork.
- Read the item.
- Perform the check.
- Record the result:
- Pass or Fail
- Yes or No
- a reading with unit
- a short note
- Add a photo where required.
- Tap Save step.
- Move to the next item.
Out-of-range readings may require an action. Record what you did, even if the action was "isolated and reported".
Capture evidence
Evidence is proof of condition and workmanship.
- Open the evidence section for the task or job.
- Choose the type: before, during, after or defect.
- Take the photo, or choose it from the gallery if allowed.
- Add a short caption.
- Upload.
Good evidence:
- is in focus
- shows the asset or defect clearly
- includes a wide shot and a close-up where useful
- is taken before the area is cleaned up
Warning: Do not stage or reuse photos from another job. Evidence is auditable and may be used in a dispute.
Add parts and labour
If you used a part:
- Open the parts section.
- Choose the product.
- Set the quantity.
- Add it to the job.
If the part is not in the catalogue, add a note and tell the office. Do not invent a price.
Use the timer for billable labour:
- Tap Start timer when you begin.
- Tap Stop timer when you finish.
- Check the recorded minutes before submitting.
Pause, resume or escalate
- Pause — a short interruption.
- On hold — waiting for parts, access or approval. Record the reason.
- Unable to complete — use the exception reason and submit.
Do not leave a job in progress overnight without a note explaining why.
Submit
Before tapping Submit job, check:
- every required checklist item is answered
- required photos are uploaded
- defects are recorded
- parts and time are recorded
- required documents are acknowledged
- the work area is clean and safe
Submission sends the job to the office for review. If the reviewer returns it, you will see the reason and can correct and resubmit.
Check your understanding
- What does Start work record?
- What should you do if a scanned asset does not match the job?
- What must be true before you submit?
Related: Checklists and evidence · Defects, parts and follow-up work
Related articles
Who this is for: field workers using the web workspace, the PWA or the Android app. What you will learn: how to open the help centre and find the answer without leaving the job. Op...
Who this is for: engineers, technicians and anyone completing jobs on site. What you will learn: how to sign in, find your work, and understand what the office expects from each jo...
Who this is for: field workers. What you will learn: how to complete a checklist correctly and capture evidence that will stand up to review. How a checklist behaves It is a snap...
Who this is for: field workers. What you will learn: how to report a fault without losing the commercial or safety follow-up. Defect or note? Record Use it for Note A conver...